
14 Cheap Ways to Block Your Crochet
What is blocking anyway? It’s the final shaping of a project to what it’s meant to be. The yarn was made with the intention of being a straight piece of yarn. However, now that you have crochet or knit your projects, the yarn is no longer straight. What blocking will do?
- Think about holding hands with someone and they move but your arm is at the wrong angle. So you both let go and grab onto each other so that it is more comfortable. Dampening the project causes the fibres to open up and when it dries, the fibres resettle back into the position that is more in line to the new shape that you have forced it in.
- Blocking can release the tension of the fibres giving a better stitch definition, drape and appears to be more flattened to stop the curling of a project.
- Acrylic after blocking will cause the fibres to take its new shape. After you have used the project and it requires washing, the project doesn’t need to be reblocked. Natural fibres will require blocking again if washed.
Innovative and Cheap Ways to Block
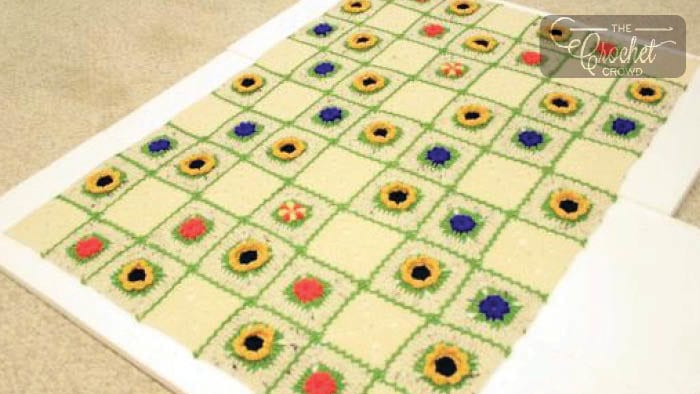
Large Styrofoam by Nancy Elliot
- Dampen the afghan.
- Lay on the Styrofoam and pin the blanket to the size.
- Let the blanket naturally dry.
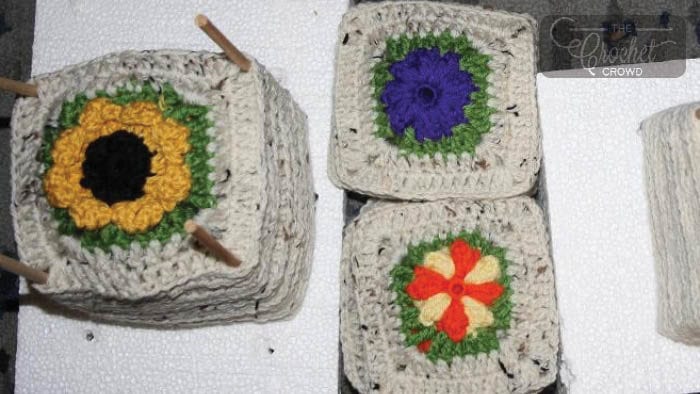
Styrofoam with Dowels Jammed In by Nancy Elliot
- Get a piece of thick styrofoam and jam in dowels to the size you want.
- The holder will hold the project for the correct shape.
- Over time, the fibres will relax to take the size and shape it’s forced into.
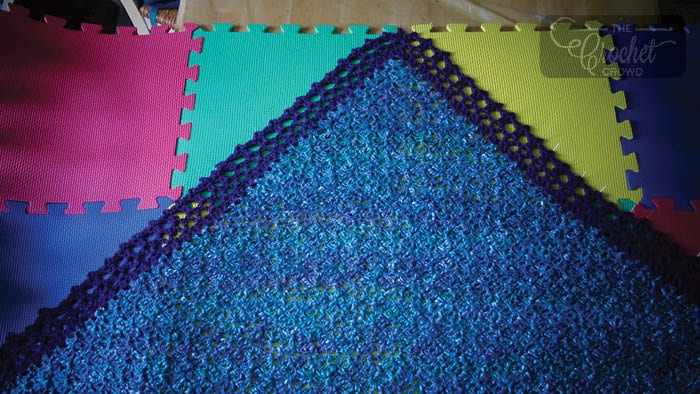
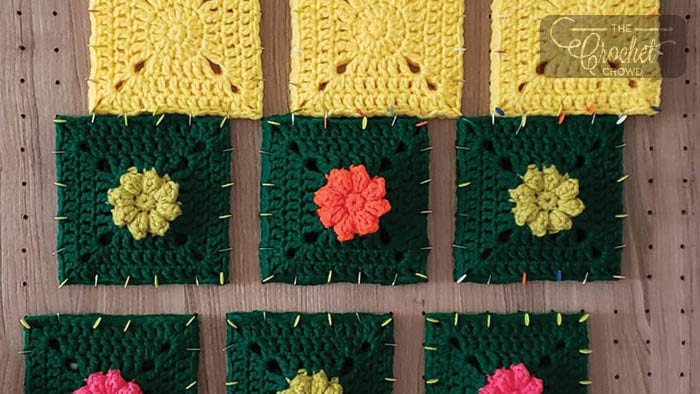
Pinned to Foam Mat by Lauren Wolf & Naomi Titus
We are seeing more and more people use foam mats that can be used by themselves or puzzled together.
- Dampen the project.
- Lay flat and pin into position to hold.
- Let air dry.

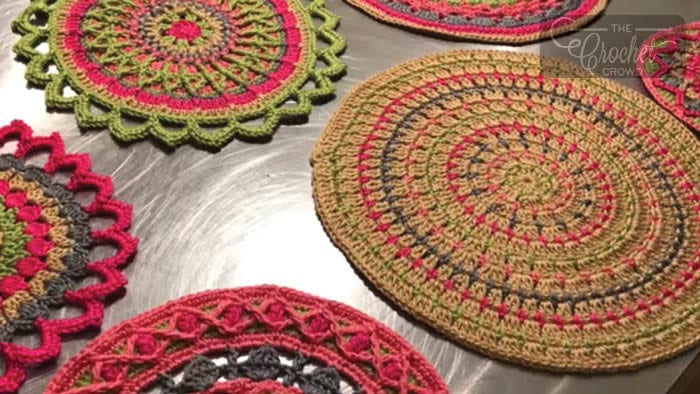
Steam Blocking by Mikey
During a Yarnspirations photoshoot, I noticed the stylist was steaming all of the projects before photography. In asking why, she stated it can make project stitch definition look better and causes projects to take their shape without having to wait too long. Steam blocking is my most go to for blocking.
- Shown here is a Conair Steamer I purchased at Walmart.
- You can either hang it or lay it flat. Steam blast the project.
- Give it a few minutes to let air dry.

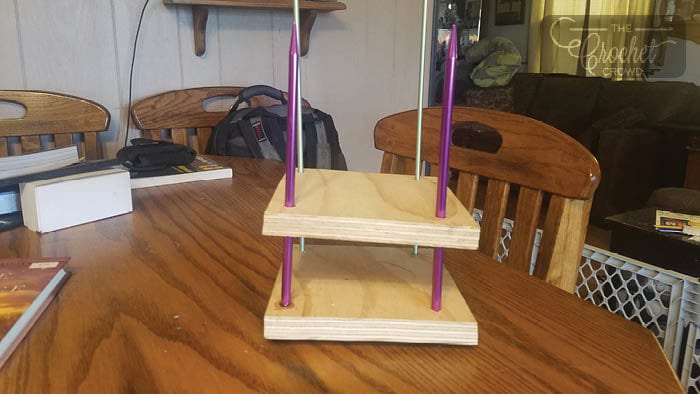
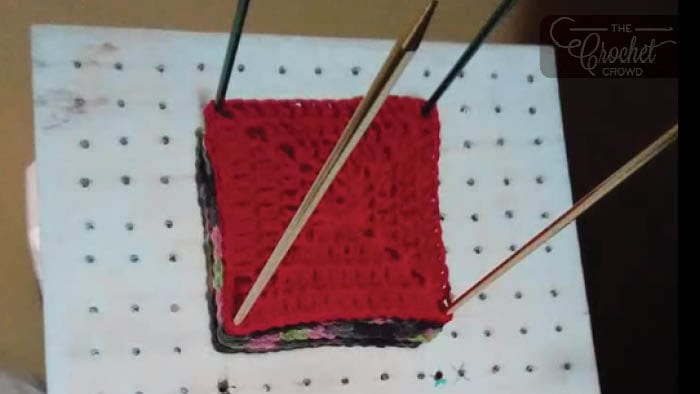
Customized Tool Holder for Squares and Yarn by Elizabeth McInnis
Elizabeth has a homemade contraption that will hold the granny squares into position.
- Get a board and drill holes.
- Insert knitting needles from the back side up.
- Slide on the granny square and let it rest to take its shape.
- Elizabeth also uses extra needles to hold her yarn straight up.
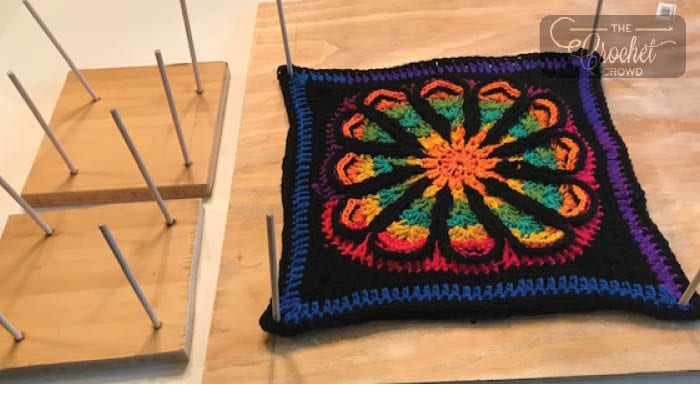
Custom Square Plank with Top Press to Flaten by Brenda Herbaugh
Brenda had a custom tool made and used knitting needles as the holding spots in the corners.
- Cut pieces of wood that will get to the size needed to hold the square.
- Drill holes at the sizing points and put knitting needles up through the backside.
- Do a second plate that can go on top to help keep the blocks lightly pressed when sitting in the contraption.
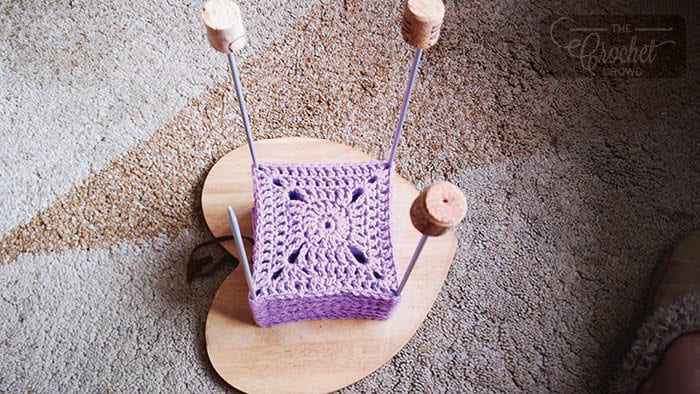
Customized Wood Shape by Maggie Mooney
Using something ready bought. Maggie’s contraction is visually more decorative. To prevent injury, she puts corks on the top.
- Get a shape of wood from the craft store.
- Drill holes the side needed.
- Insert knitting needles from the backside going up.
- Slide on the granny square after completion to take their shape.
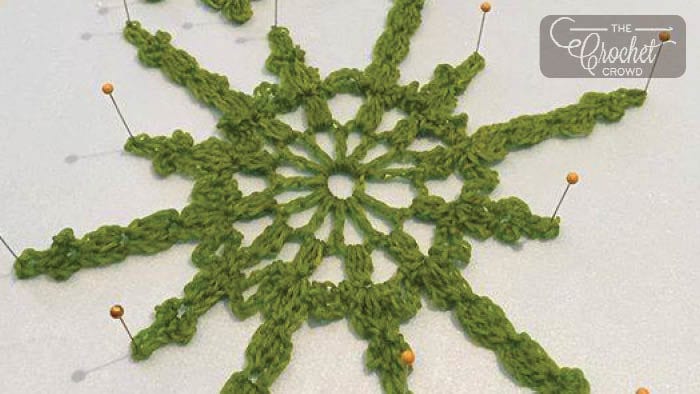
Stiffening for Gluing by Mikey
Some projects you want to harden to take their shape. Things like crochet snowflakes are a great example. Due to the glue being involved, you want to ensure you use pins and non-stick surfaces.
Glue Formula
- Equal Parts of Water & Starch.
- Boil together.
- Let cool down so you can touch the water without burning yourself.
- Soak your project, squeezing your project so the solution goes into each fibre. DO NOT TWIST or RING OUT Project.
- Compress the project in your hands to remove the excess water.
- Place onto wax paper. Position the project to form the shape you need. Use pins and force shape if required. If your project is built up like bowls or hollow interior surfaces, place wax paper over the object that is used to prop up the project to form the shape.
- Sprinkle with Sparkles if required.
- Leave in a naturally warm area of your home. Let completely dry. It could take a few days. The solution will solidify.
- Remove the pins and use the project as desired.
- It will not discolour the project.
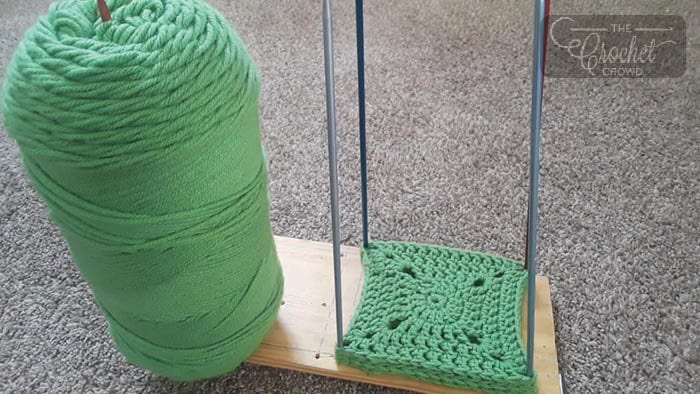
Multiple Customized Platforms by Pam Champion
Pam has multiple boards that have dowels that stick up.
- Cut the boards to the sizes needed.
- Drill holes into the wood.
- Size the dowels and insert them into the wood.
- When not in use, just pull out dowels and store in a safe spot.
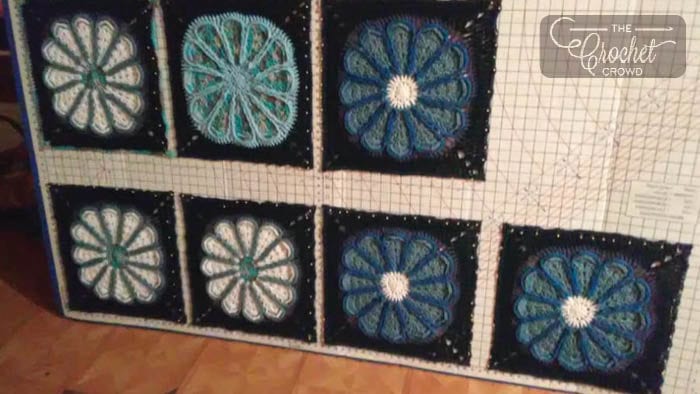
Pinned to Dress Making Board by Patti Hamilton
Patti has a dressmaking board where she pins her squares to the board.
- Patti uses the guides on the board to ensure she is pinning each to the right size.
- Pin and let the project naturally relax.
Peg Board by Patti Hamilton
Patti also has a cut pegboard where the knitting needles can come out from the backside.
- Cut the pegboard to the sizes you want.
- Insert knitting needles from the backside.
- Slide on the granny square to let the granny square naturally stretch to its position.
Wet Blocking by Mikey
My second most reliable method is wet blocking.
- Dampen the project and lay on a towel or surface.
- Using your hands, tug the damp project to take a shape.
- Once satisfied with the shape, let air dry naturally.
Peg Board Pinning by Anonymous
- This crocheter pins their project to a board.
- Using the holes that already exist, the pins hold the shape and can be easily lifted off.
- The yarn naturally relaxes in time.
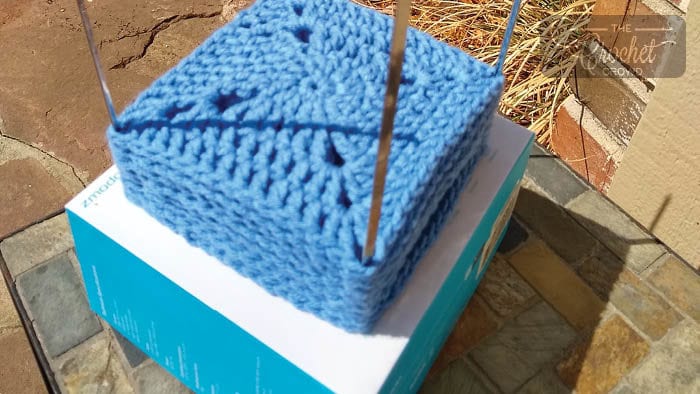
Rods Jammed into a Box by Hamidah Buang
Hamidah jams the rods into the box at the size she needs.
- Determine the size needed and push the rods through the box. You may want to put styrofoam into the box.
- Slide on the project after use and let rest to relax the tension.
Tinker Toys Contraption by Lauren Wolf
Lauren has taken kids toys to a fun crochet level.
- Assemble the Tinker Toy to the size needed.
- Dampen the squares and slide onto the toy. Leaving space between them to air dry.
- Put the top of the toy on to keep the formation and let naturally rest until needed.


