Designer: @olga_roskoshnaya
Etsy: olga_roskoshnaya
Hello everyone who loves amigurumi…
Today I shared the amigurumi bird crochet pattern for you. Below you will find a step-by-step tutorial of this pattern and you will complete it without any difficulty. Thanks to the creator for this cute pattern.

Materials:
• Yarn of different colors (I use YarnArt Jean’s)
• You need to divide a yarn into 2 parts for bird’s neb
• 1,75 crochet hook 1,25 or 1,5 crochet hook for bird’s ned
• Fiberfill
• Embroidery thread for eyes and cheeks
Abbreviations:
mr– magic ring
r– round
st– stitch
sc– single crochet
hdc– half double crochet
dc– double crochet
inc– increase
dec– decrease
Let’s start making the amigurumi bird body
Body:
R 1: 6 sc into magic ring
R 2: 1 inc*6 (12 st)
R 3: 1 sc, 1 inc*6 (18 st)
R 4: 2 sc, 1 inc*6 (24 st)
R 5: 3 sc, 1 inc*6 (30 st)
R 6-8: 30 sc
R 9: 4 sc, 1 inc*6 (36 st)
R 10-12: 36 sc
You need to crochet the white yarn for 11 rounds, than change the color of the yarn.
R 13: 5 sc, 1 inc*6 (42 st)
R 14-19: 42 sc
R 20: 5 sc, 1 dec*6 (36 st)
R 21: 4 sc, 1 dec*6 (30 st)
R 22: 3 sc, 1 dec*6 (24 st)
R 23: 2 sc, 1 dec*6 (18 st)
R 24: 1 sc, 1 dec*6 (12 st)
R 25: 1 dec*6 (6 st)
Cut the yarn and the remaining 6 stitches. Hide the thread.
Crochet 9 chain stitches. Start to crochet into the 2nd stitch from the hook:
• 3 sc, 2 hdc, 2 dc, and than work 7 dc into one chain stitch.
Now work along the other side of the chain:
• 2 dc, 2 hdc, 3 sc
Cut the thread off, leaving a long tail for sewing.
Wing:
R 1: 6 sc into the magic ring
R 2: 1 sc, 1 inc*3 (9 st)
R 3: 9 sc
R 4: 2 sc, 1 inc*3 (12 st)
R 5: 12 sc
R 6: 1 dec*6 (6 st)
Cut the yarn, leaving a long tail for sewing, and close the remaining 6 stitches.
You need to crochet 2 details.
Ned:
You need to divide a yarn into 2 parts.
R 1: 6 sc into the magic ring
R 2: 2 sc, 1 inc*2 (8 st)
R 3: 8 sc
R 4: 3 sc, 1 inc*2 (10 st)
Crochet 1 slip stitch, cut the yarn, leaving a long tail for sewing.
Leaves:
Crochet 4 chain stitches. Start to crochet into the 2nd stitc from the hook:
• 1 sc, 1 hdc, 1 sc
Cut the thread off, leaving a long tail for sewing.
Are you excited to prepare the most beautiful flower models
Flower:
Crochet 13 chain stitches. Start to crochet into the 4th stitch from the hook:
• 1 dc, than you need to crochet2 dc into every stitch.
Cut the thread off, leaving a long tail for sewing. You need to roll up the detail, forming a flower.
Gathering:
You need to sew wings only from above, from one point to another one. One wings is in place of colour’s change.
Sew the tail between 19th and 20th rounds.
And add a little fiberfill to the neb. Sew the neb between 8th and 11th rounds. Look at the wings to sew the neb on the center.
Embroider the eyes on the 9th round. Than embroider the cheeks. Than you’ll add feathers: it means you need to embroider check marks in chessboard
order on the bird’s belly.
Twist the detail, forming a flower. Using a needle you take the thread down to the base of the flower. Sew through a few times in different direction. Than fasten the thread off, don’t cutting.
Sew leaves on the bottom of the flower, fasten them off and cut the thread off. I sewed 2 leaves.
Sew the flower to the bird’s head. I sewed the flower a little sideways.
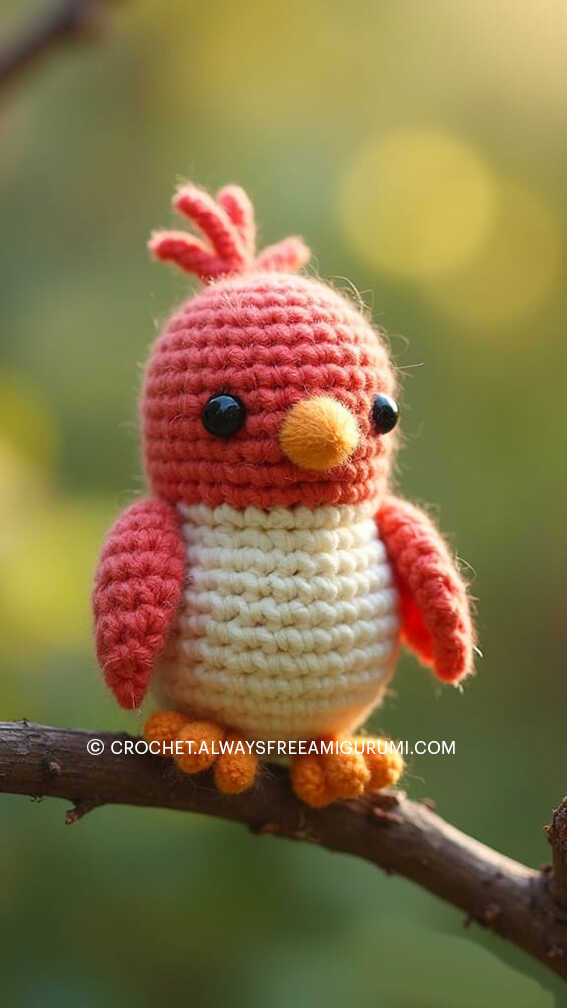
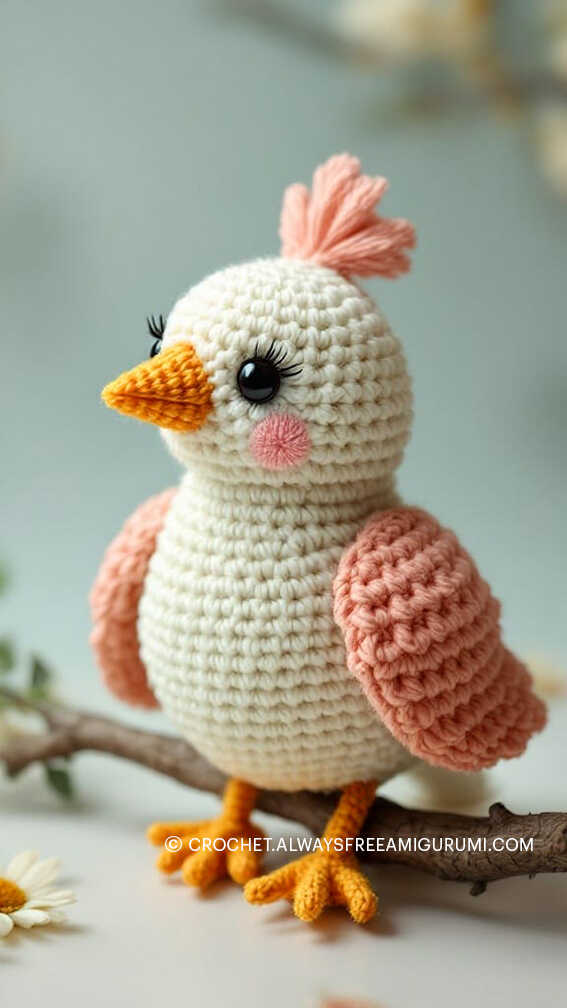
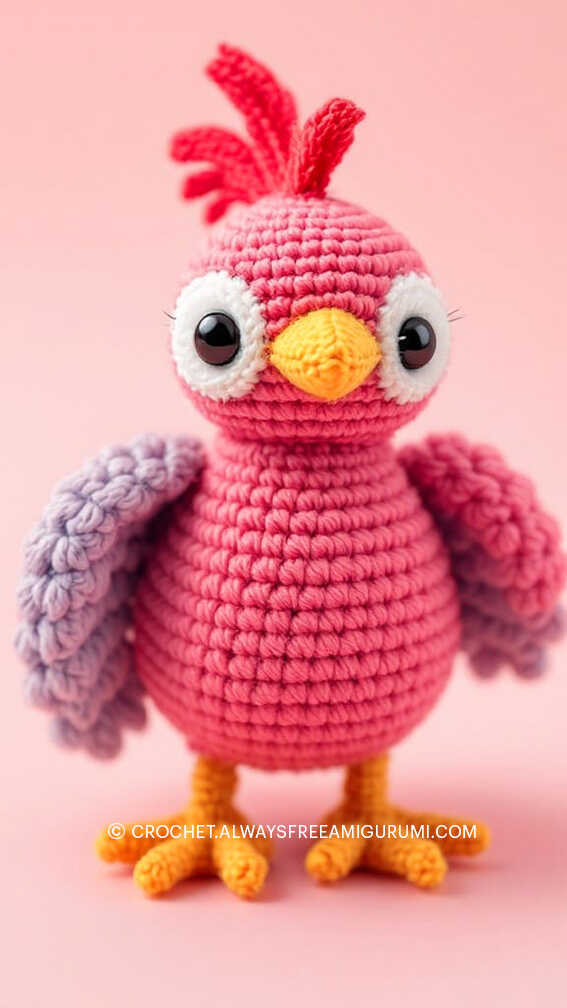
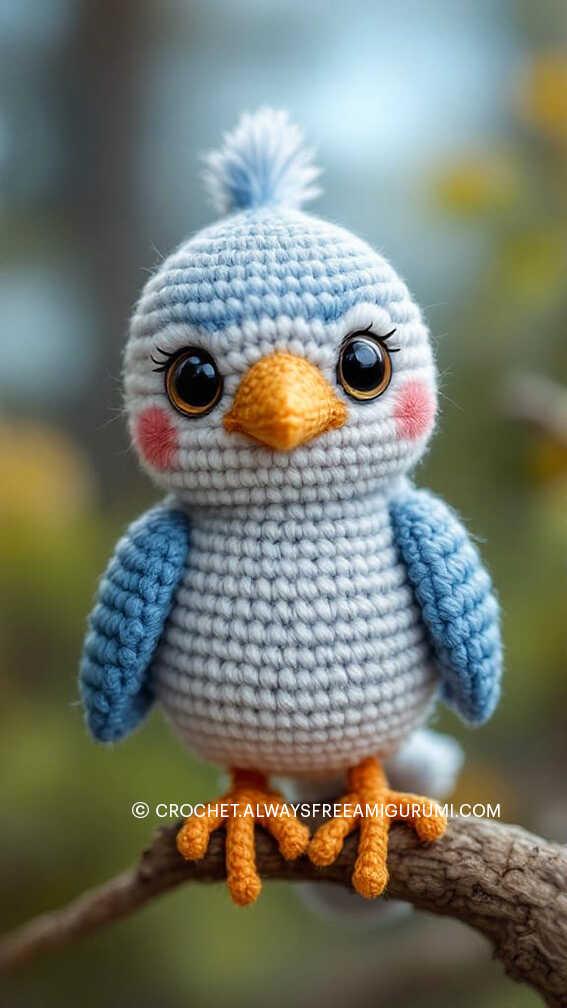
Congratulations! Now you have a little bird!
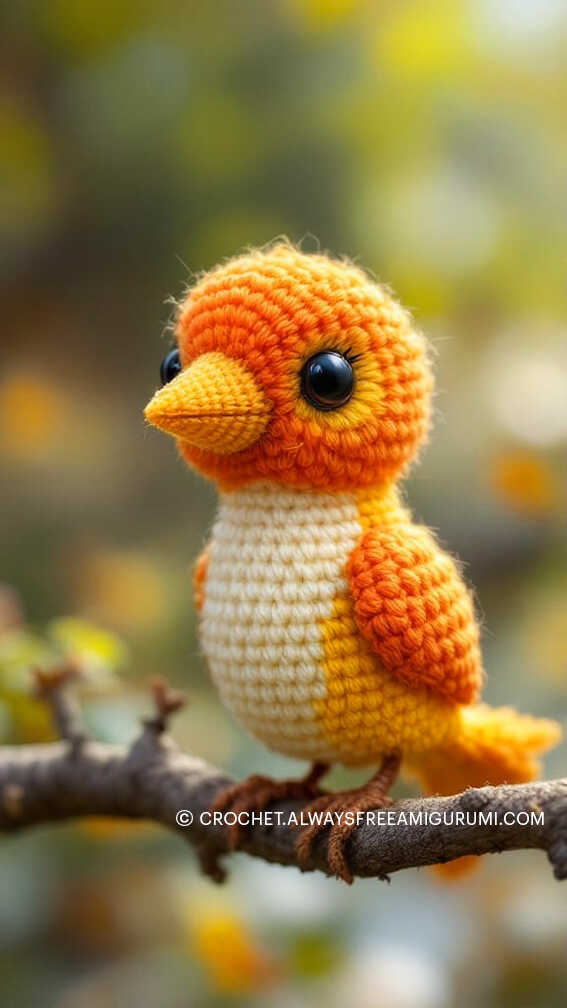
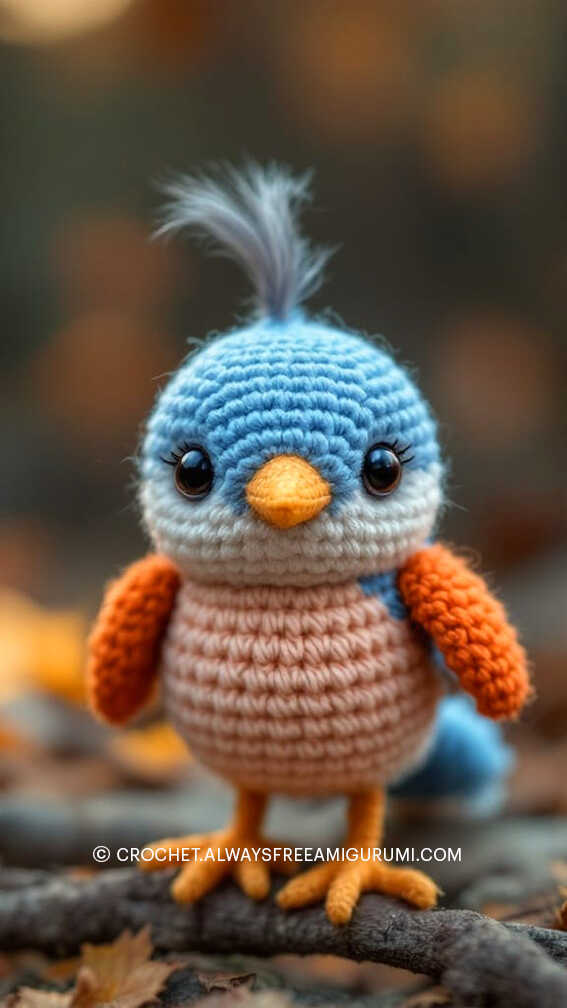
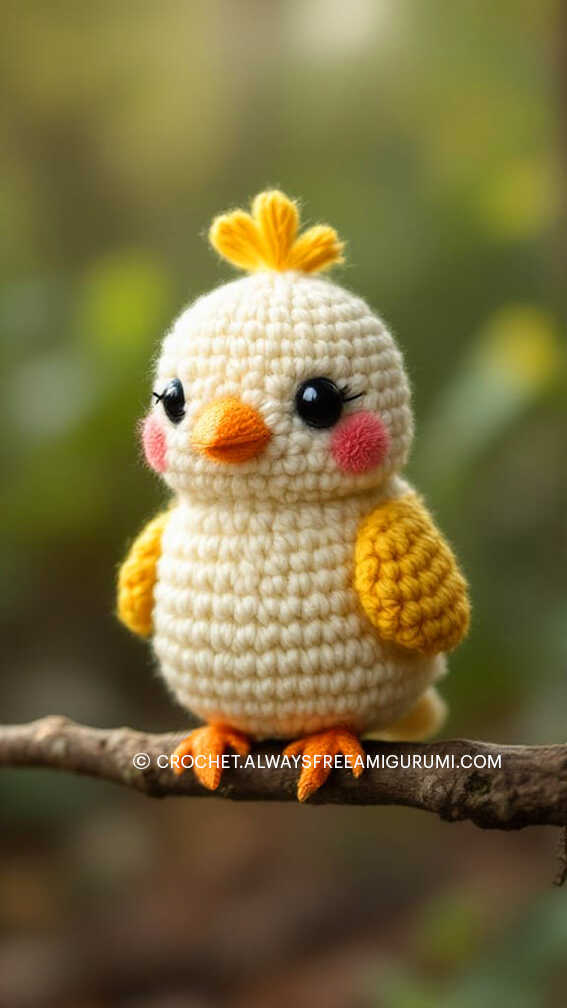
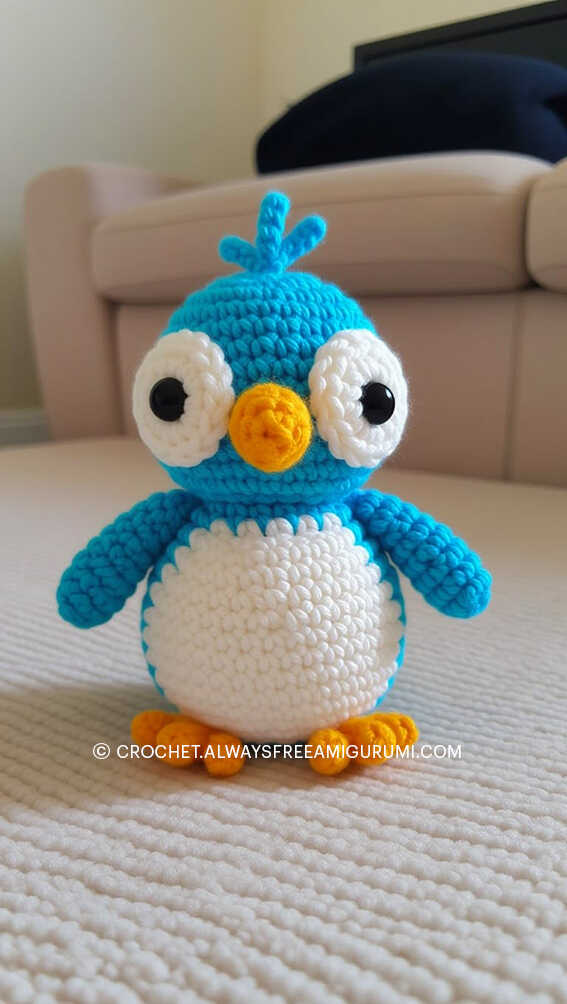
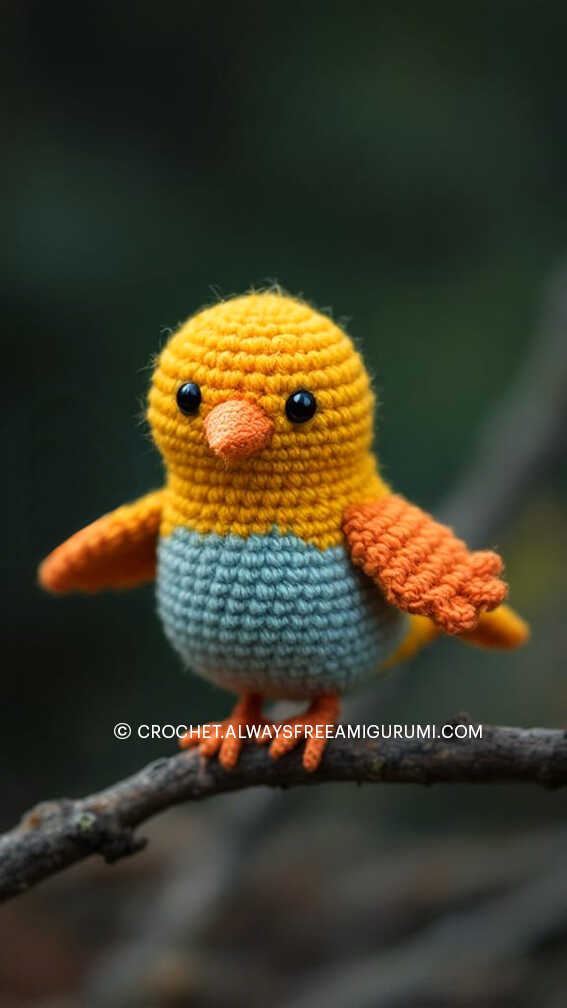
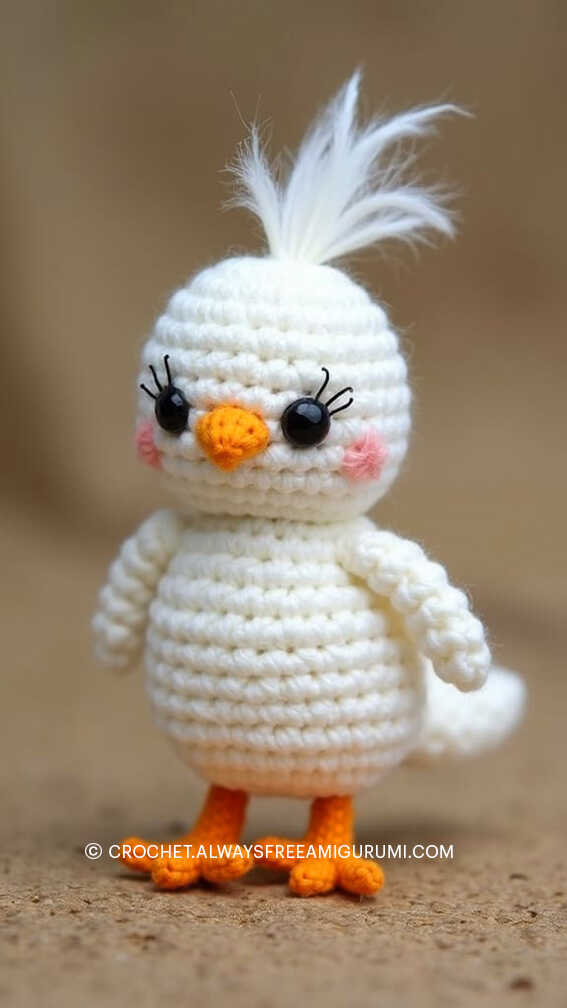
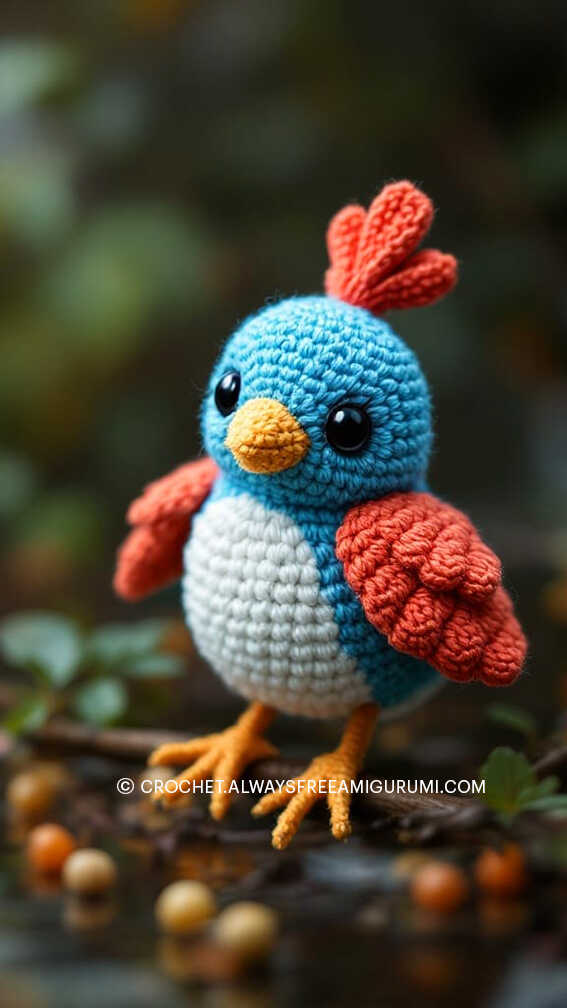
More amigurumi bird ideas: