Slip stitch is the most basic stitch in crochet, is the first stitch you need to know if you want to learn crochet. It is used almost in every crochet project. It is very versatile; it can be used as an actual stitch, as a seaming technique, to finish up a garment or to attach new yarn to a project. Learn how to slip stitch in crochet in a few steps, we´ll tell you all the tricks.
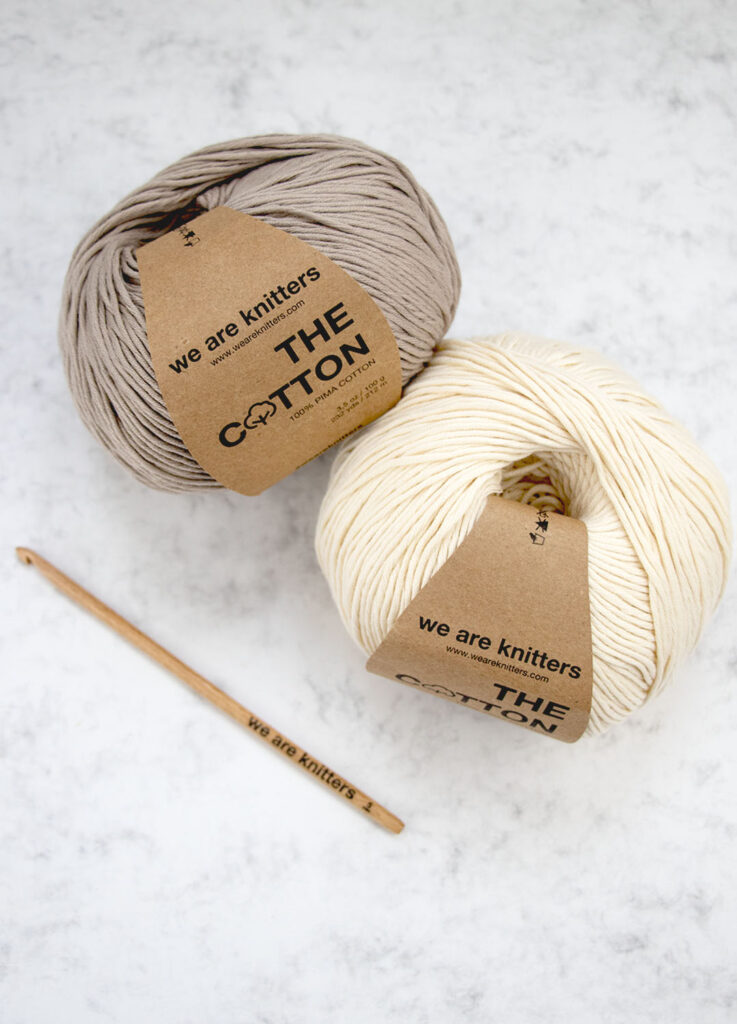
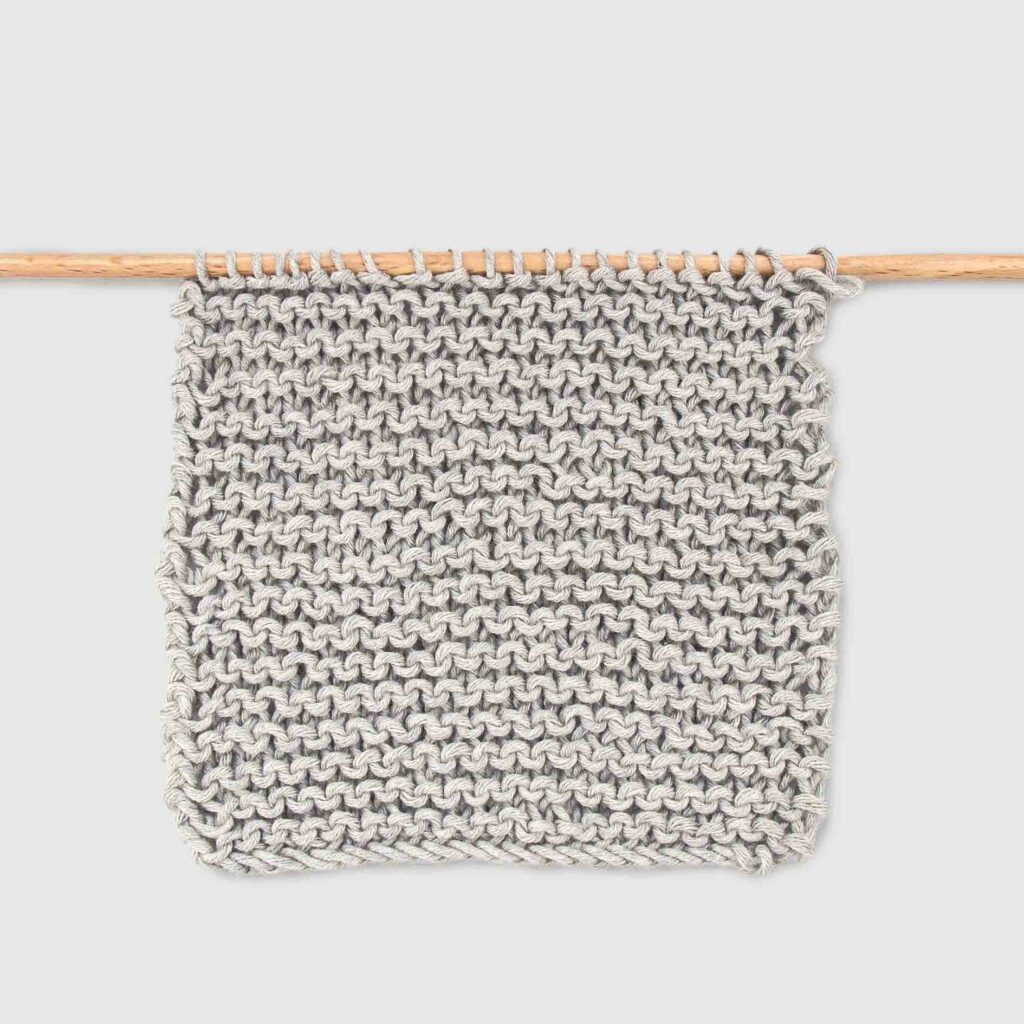
Our Pima Cotton Pearl Grey and Pima Cotton Natural is the perfect fiber to get started, to crochet it we are using a 5MM Crochet Hook.
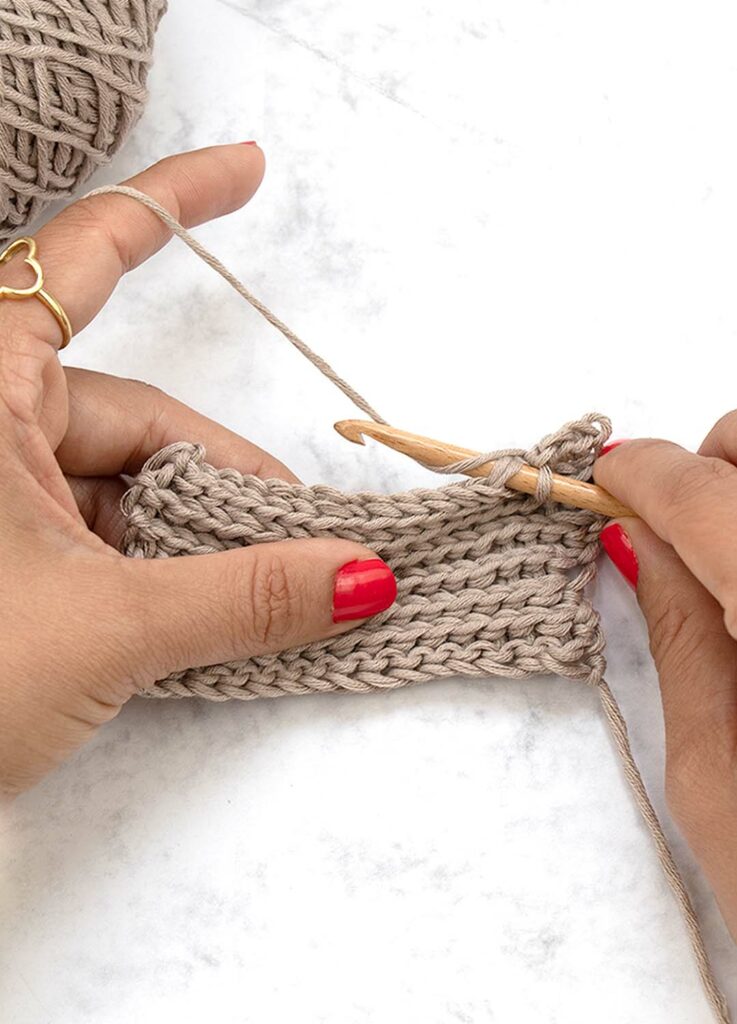
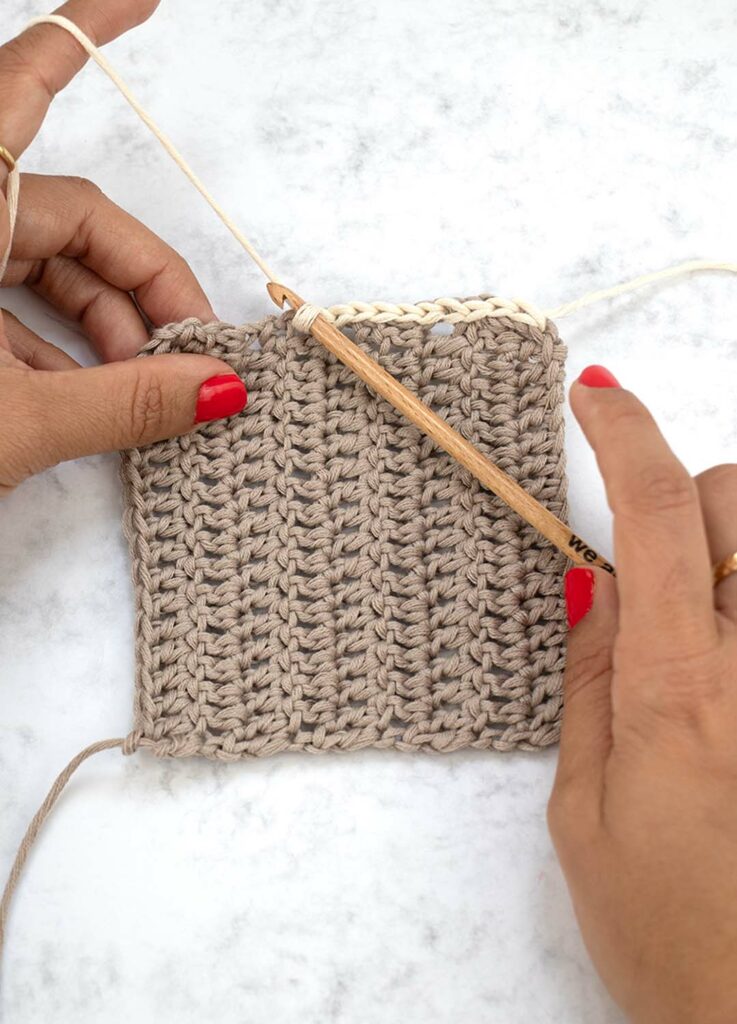
Slip stitch can be used as a decorative stitch, to crochet it follow this steps:
1. Make a slip knot leaving a 4 inch tail.
2. Make a foundation chain in the desired width. We have chained 20 stitches, just enough to make a swatch sample.
3. Chain 1 more, this will be your turning chain. The stitches in crochet are built from the top, so this turning chain will give you the height you need to start a new row.
4. Insert the crochet hook into the second chain from your hook.
5. Yarn over.
6. Draw yarn through the stitch and the loop on the hook. You will have your first slip stitch.
7. Insert the crochet hook into the next chain.
8. Repeat steps 5 to 7 until you have worked all the chains.
9. Turn your work. To crochet the next row.
10. Make a turning chain.
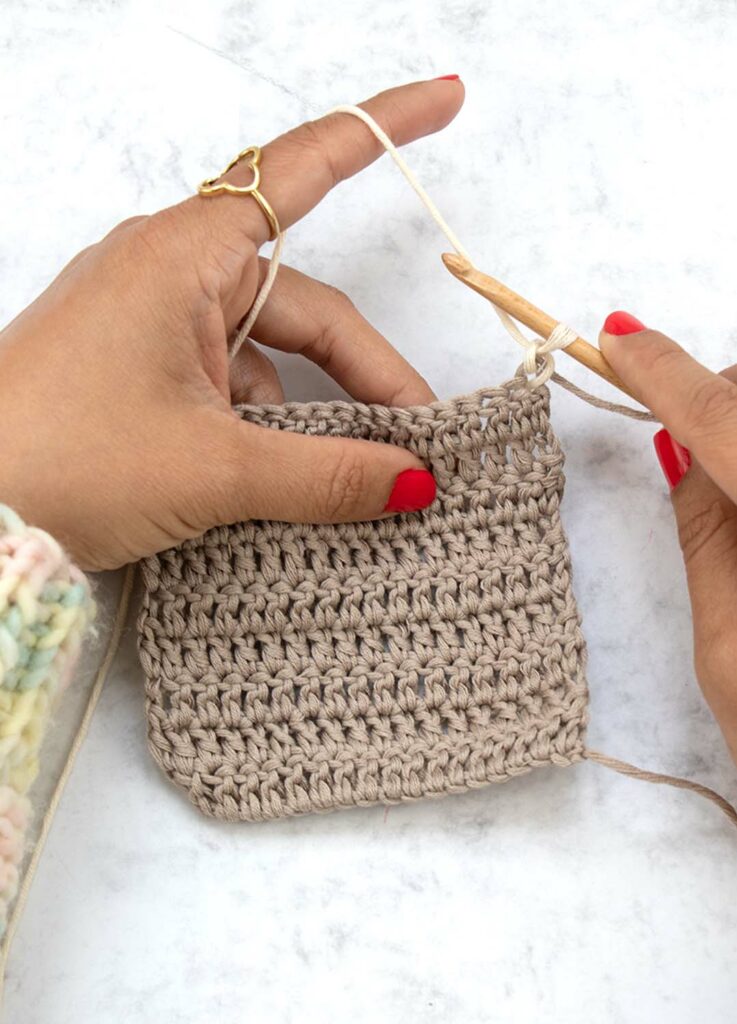
11. Work all the stitches of the previous row as follows: Insert the crochet hook into the next stitch yarn over, draw yarn through the stitch and the loop on the hook. You will have your first slip stitch.
12. Repeat steps 9, 10 and 11 until you reach the desired length.
When you work the slip stitch remember:
– Don’t pull the working yarn too tight, pulling the yarn too tight will make it harder to crochet.
– Count the number of stitches you have in every row. Sometimes in crochet it is easy to miss a stitch, you can skip one stitch without knowing.
– Don´t forget to work the last stitch. The last stitch is always a little bit tighter than the rest of stitches so it is easy to miss. A little trick is to mark this last stitch with a stitch marker.
As you can see it is quite easy to make. In our Bella Aurora Tee X @alimaravillas you have a beautiful example of how it is used as an actual stitch. In this top the slip stitch is worked through the back loop, this means that you work the slip stitch inserting the hook into the back leg of each chain, so that the front leg of “V” remains visible. This way of working this stitch is called crochet garter stitch.
1. Pick the new yarn and your crochet hook.
2. Insert the crochet hook on the stitch you want to attach the new yarn.
3. Join the yarn by making a slip stitch.
4. Continue your crochet pattern.
This technique is used to change colors or to add borders in blankets, sweaters, tops, etc.
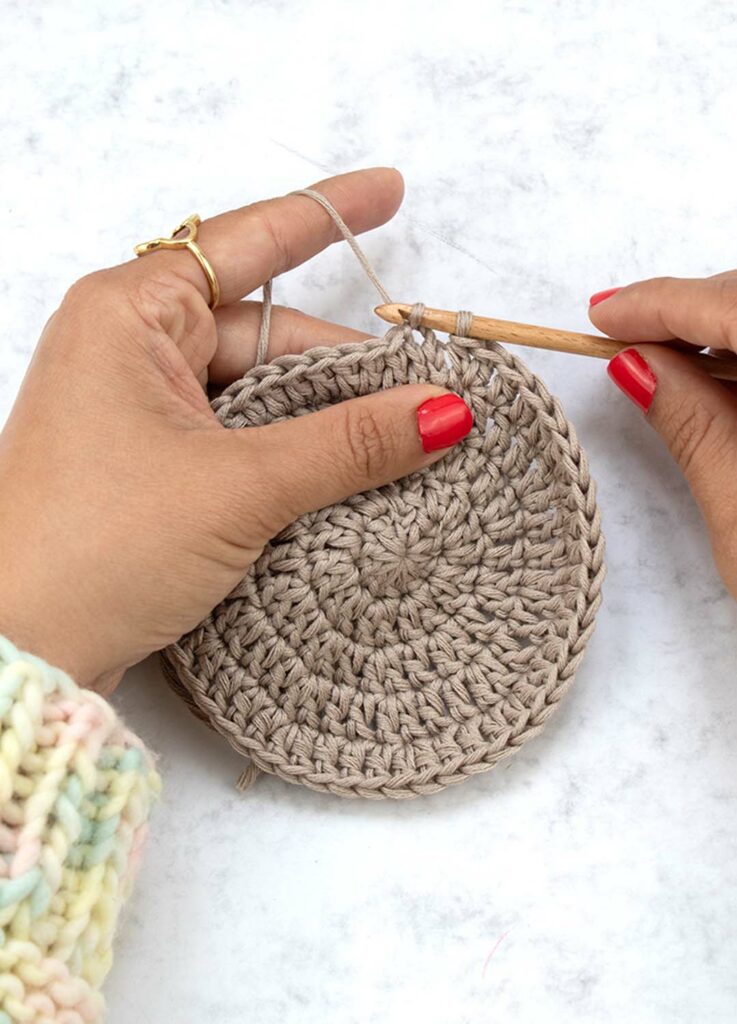
A crochet pattern can be worked in the round, working in the round is used to avoid seams or form tubular shapes such as snoods, baskets, cushion covers, etc. Also it is used to make crochet effects such as the famous “granny squares”. Follow this steps to join in the round:
1. Work your round as indicated in the pattern.
2. When you reach the end of the round, insert the crochet hook on the last chain of your turning chains and work a slip stitch. Make sure this slip stitch has the correct tension to avoid gaps.
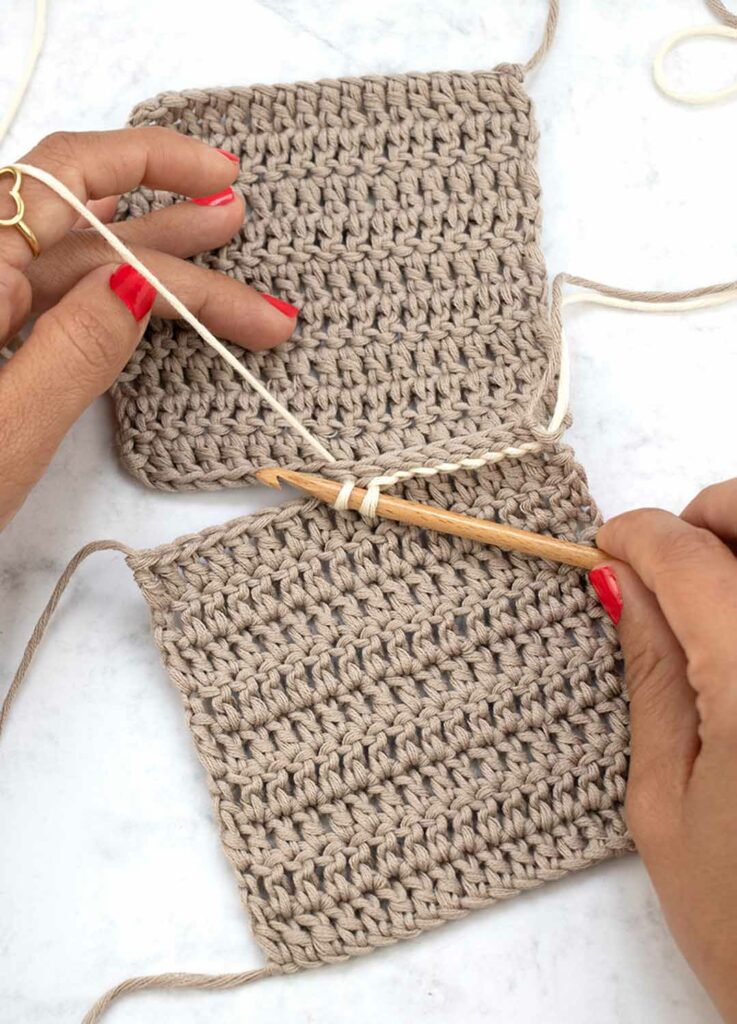
Crochet stitching gives you a perfect and quick join, to seam a crochet project follow this steps:
1. Turn your pieces so the wrong side is facing you.
2. Line up both pieces so the stitches that you want to seam are side by side.
3. Introduce your hook in the two stitches you want to join, you can take only the back leg of the stitch or all the stitch.
4. Work a slip stitch.
5. Continue working in slip stitch to seam both pieces.
Sometimes borders can be uneven, especially where the rows show, slip stitch can give your crocheted piece a better look. To do it just join the yarn and crochet slip stitches in the border.
The perfect example that combines almost all uses of slip stitch is our crochet kit for women Hot Chocolate Vest, in this pattern you close in the round, seam and finish with slip stitch.
Slip stitch is the main stitch in crochet, practicing and mastering it will help you have cleaner finishings, quicker seams, better projects and better shapes. you’ll be amazed at the beautiful effects you can achieve!
We hope you like this stitch and that soon you share your projects with it on social media with the hashtag #weareknitters 🙂 Until next time!


