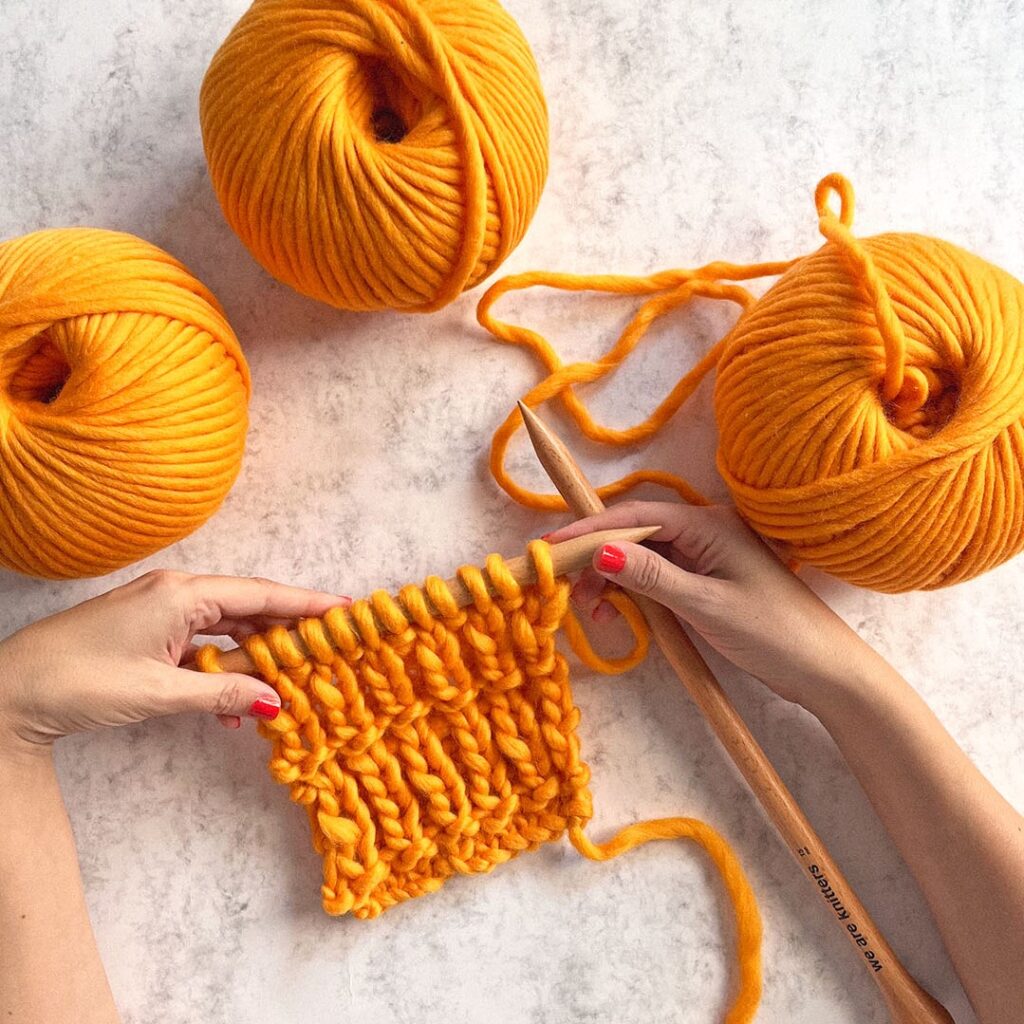
This is a step by step guide that will help you to knit your first pieces. We will show you how to hold the needles, the yarn, work your first stitches and finish your garment. You will see how you will be knitting in just a few steps.
Materials needed
- Knitting needles
- Yarn
- Scissors
- Tapestry needle
For this tutorial we used our 15 mm needles our yarn The Wool in color Dusty pink, sage green, bubblegum and natural.
First you have to choose the yarn, to do so keep in mind that bulky wool or super bulky yarns will help you see the stitches better and also chunky wool for knitting will make you go faster, this will encourage you to go on.
Casting on the stitches
The first thing you will need to do is casting on the stitches, the number of stitches you cast on will determine the width of your project. Step by step casting:
1.Leave a length of yarn four times as long as the length of your project. Another way to calculate the length is wrapping the yarn around the needles the same times as the number of stitches that you have, this is, if you want to cast on 10 stitches you have to wrap the yarn 10 times around the needle.
2. Tie a slip knot. Insert a needle through the slipknot and tighten the knot to the needle. Do not pull too tightly or you will have a hard time knitting it. Hold the yarn that comes from the ball with your right hand and the other end of the yarn with your left hand.
3. Make a loop with the yarn with your right hand and insert the needle.
4. Wrap the yarn in your left hand around the needle clockwise.
5. Pull the loop of yarn in your right hand over the needle. You just made your second stitch. Gently pull both ends of yarn to adjust the yarn to the needle.
6. Repeat steps 3 to 5 until you have casted on the number of stitches desired.
Knit
The most basic stitch in knitting is the garter stitch which means knit all the stitches and all the rows. To knit:
1. Hold the needle with the stitches on it in your left hand. Insert the right needle into the center of the first stitch from the front to the back.
2. Wrap the yarn around the needle clockwise.
3. Gently slide the right needle toward you, pulling the new loop through the original stitch on the left needle.
4. Slip the stitch to the right needle.Repeat these steps until the end of the row.
5. After you have knitted all the stitches in the row, turn your work, by passing the needle with the stitches to your left hand.
6. Continue knitting until you reach the desired length.
Purl
Purling is the next stitch you should learn, by combining knitting and purling you can work thousands of stitches. To purl:
1. Hold the needle with the stitches on it in your left hand. Insert the right needle into the center of the first from the back to the front.
2. Hold the yarn in front of your work and wrap the yarn around the needle going over the neddle.
3. Gently slide the right needle toward you, pulling the new loop through the original stitch on the left needle.
4. Slip the stitch to the right needle. Repeat these steps until the end of the row.
5. After you have purled all the stitches in the row, turn your work, by passing the needle with the stitches to your left hand.
By combining one knitting row and one purling row you will get the stockinette stitch.
Bind off
To finish your work you have to bind off the stitches, otherwise the stitches will drop and become undone. To cast off the stitches:
1. Start by slipping the first stitch to the right needle without knitting, that is, insert the needle through the stitch and slip it to the right needle without knitting it.
2. *Knit the next stitch. Using your left needle, pass the first stitch on your right needle over the second stitch, so that only one stitch remains on your right-hand needle*.
3. You have bound off your first stitch. To bind off the remaining stitches, repeat from * to * until you have bound off all the stitches required.
Weave ends in and finish
Once you have finished knitting your scarf, it will look like the image in the diagram.
To finish, make a knot and weave in the tail end of yarn about 3 inches (8 cm) using the tapestry needle.
Cut off even with the fabric.
To start you can visit our beginning knitting kit section, there you will find the best projects to get initiated in knitting.
We hope you like this knitting beginner tips and that soon you share your projects with it on social media with the hashtag #weareknitters 🙂 Until next time!


