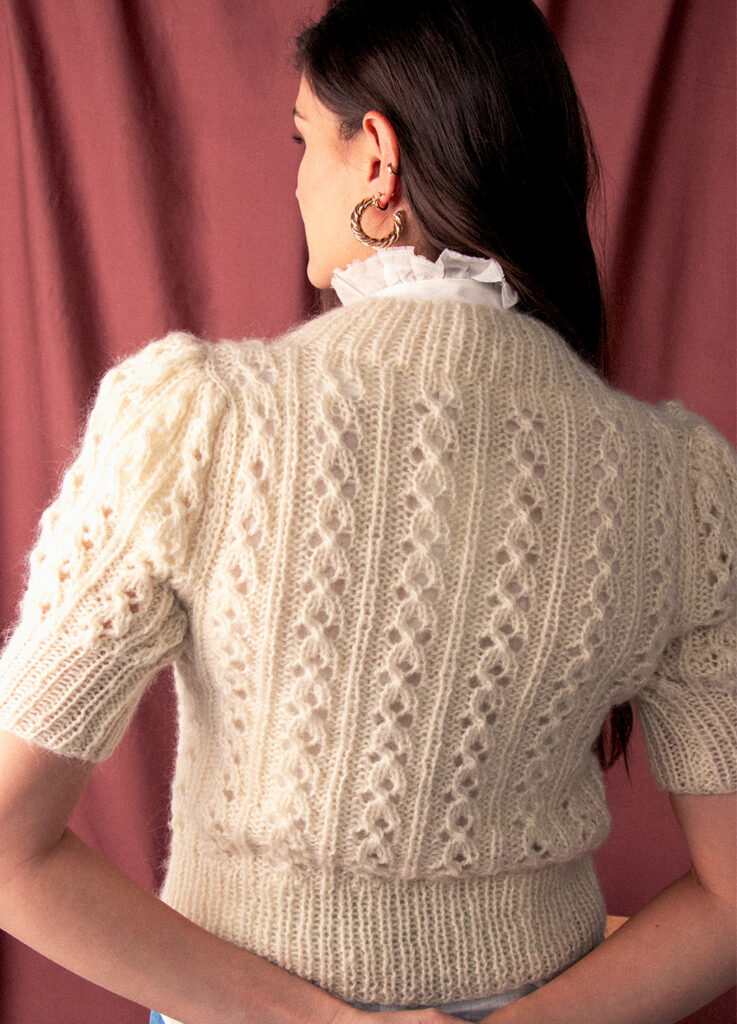
We know you have been thinking about knitting this wonderful sweater but it’s intermediate and you are not sure you are going to pull it off…
What makes a knitting pattern intermediate level? An intermediate knitting pattern can contain charts, abbreviations, more than 10 techniques, also it is associated to thinner knitting yarns or circular needles, but it can come in different shapes.
In this post we are going to show you a few techniques to raise your knitter level, raise your confidence and go for it.
These intermediate knitting techniques may look very difficult but you will see that with some practice you will master them and they will definitely become your favorite techniques to work your knitted pieces.
These 5 techniques will help you improve your garment’s result.
To work these techniques we are using our knitting wool in Sage Green and in Flamingo And our 15 mm circular needles.
Cast on stitches in the middle of the row
This technique is used to add more than 1 stitch, when you are joining to knitted pieces, for example to knit necklines, armholes, button holes etc,
When you have to cast on stitches in the middle of the row, turn the project around, slip the right hand needle into the first stitch of the left hand needle, wrap the needle with the strand of yarn as if to knit a stitch, take the needle out, return the stitch you just made to the left hand needle. This way, you will increase 1 stitch. Repeat these steps to increase the stitches indicated by the pattern. After increasing the stitches, turn the project around again, and work as indicated by the knitting pattern.
You can practice this technique in our Elm sweater.
Increase at the beginning of a row
Increasing stitches in knitting at the beginning of the row will help you to add more than 2 stitches on your garment. This technique is usually used to form sleeves, lapels shorts, etc,
When you have to increase more than 2 stitches at the beginning of the row, insert the right-hand needle into the first stitch, wrap the yarn around the needle as if you were going to knit a stitch, but before dropping the stitch off the left-hand needle use the tip of the right-hand needle to place the new stitch onto the left-hand needle. In this way you will have increased one stitch. Repeat this to increase as many stitches as indicated in the pattern. Once you have increased the stitches, work them as indicated in the pattern.
German short rows
This type of sort rows are the most comfortable and easiest to identify. I would definitely get started with these ones, as a new intermediate knitter this type of short rows will give you the best result. Short rows will add volume to your garments and will help you to go faster forming necklines, heel flaps and shoulders. They will be the best alternative to binding off stitches and sewing them.
To work German short rows, work the stitches as indicated in the pattern and turn your work. Slip the last worked stitch to the right-hand needle, and pull this stitch passing the strand from the front to the back, to show the two strands from the row below. You will have 2 loops.
Continue working as indicated in the pattern. When you turn your work, work the 2 loops as one.
Use Stitch markers
Knitters need stitch markers, stitch markers will help you follow the pattern, and avoid mistakes, also it can help you to keep track of your rows and stitches. Here we are going to explain to you the most common one, to mark the beginning and end of a determined number of stitches, it can be for example to mark the beginning and the end of the row in a circular work.
If you do not have stitch markers, you can tie a piece of contrasting colored yarn on your needle.
Place the marker where indicated in the pattern, in this case at the beginning of the row. When you reach the stitch marker, insert your right-hand needle into the marker and slip it to the right-hand needle as if slipping a stitch. Continue to knit according to pattern instructions.
Three-needle bind off
This type of bind off is an alternative way of joining to pieces. Instead of sewing you can bind off the two pieces together, to do this technique you will need three needles. If you do not have a third needle in the same size you can pass one of the pieces to a smaller size of needle.
To work the 3-needle bind-off place both parts of the work you will bind off on 2 needles, one on top of the other, ride sides facing With a third needle, work the first stitch of the first needle, and then the first stitch of the second needle.
Work these two stitches together. Continue working in the same way the next 2 stitches and bind off the first stitch over the next.
Continue until you bind off all stitches.
We hope you like this selection of new knitting tutorials and that soon you share your projects with it on social media with the hashtag #weareknitters 🙂 Until next time!


