[ad_1]

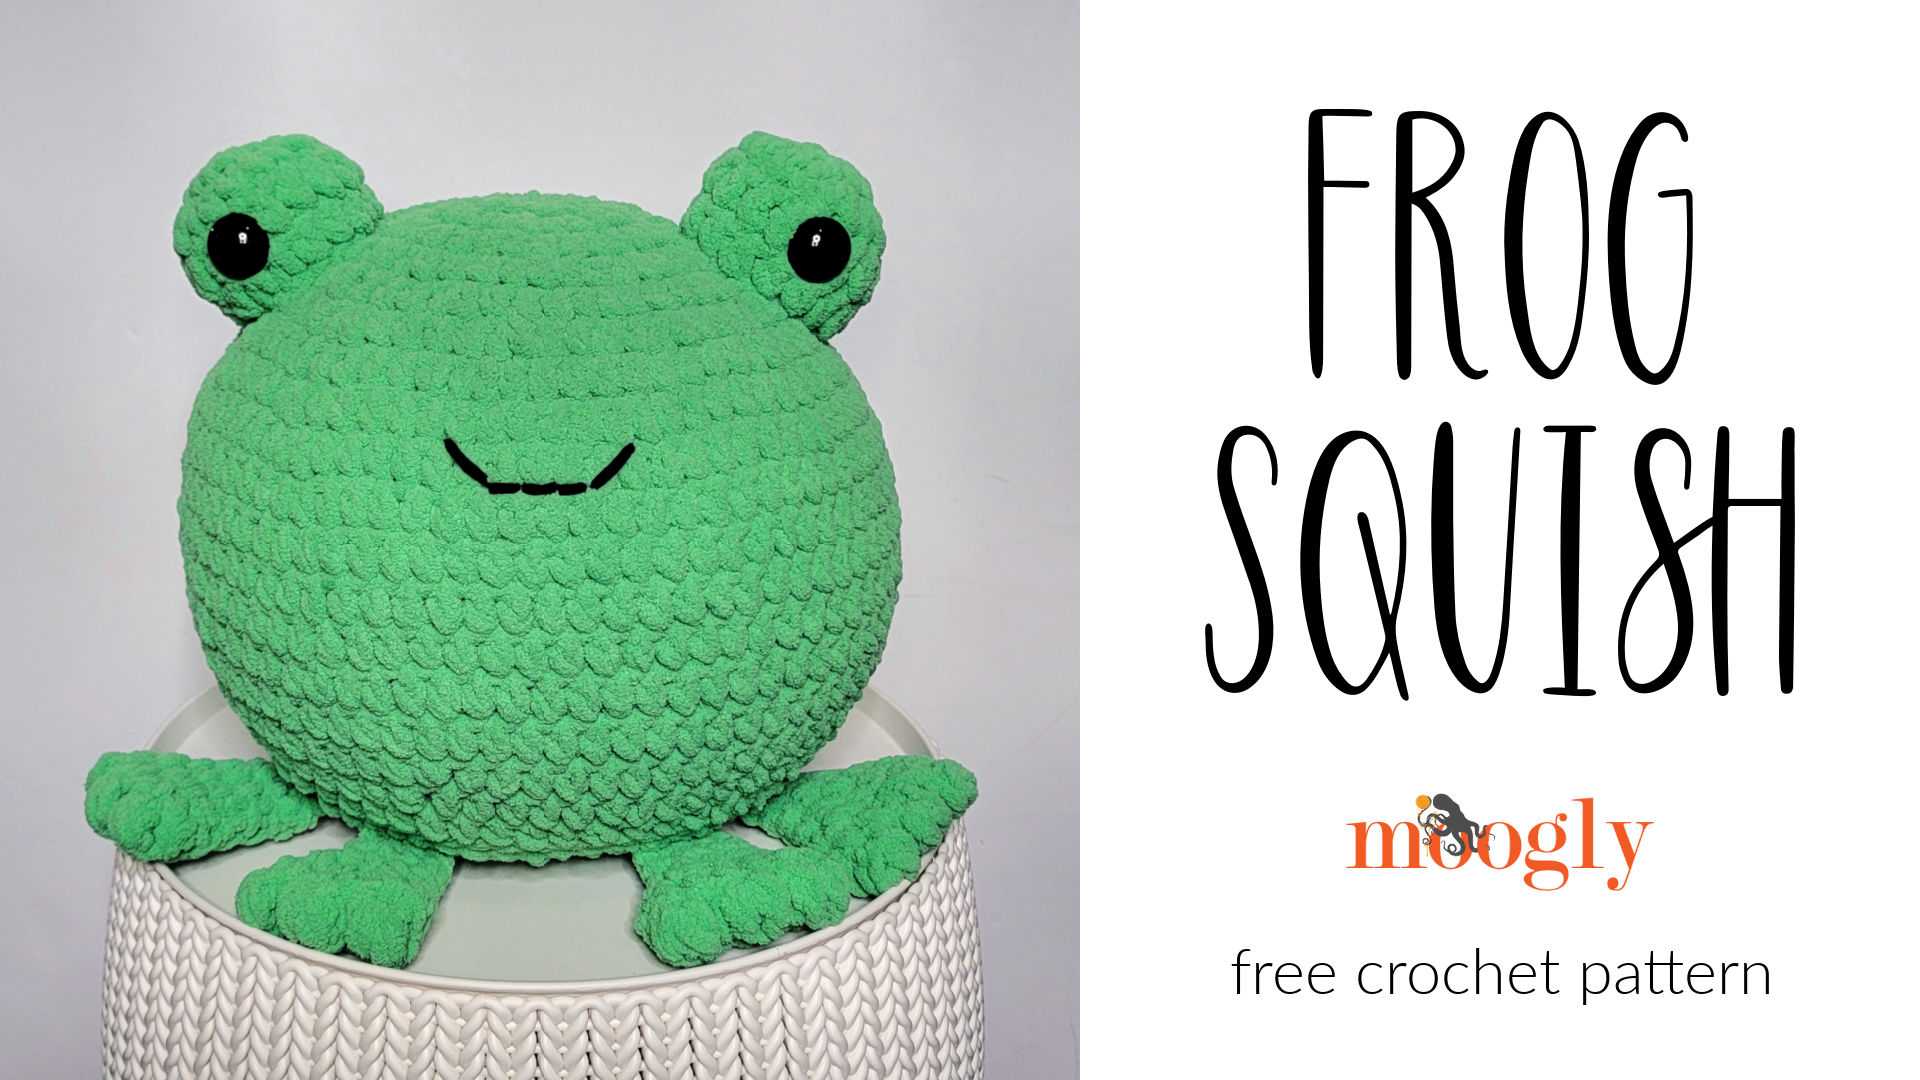
The Frog Squish is a big round green amigurumi frog – a very squishy, and not at all slimy, free crochet pattern on Moogly! Featuring Bernat Blanket, this pattern will hop right off your hook and into your heart.
Disclaimer: This post includes affiliate links; materials provided by Yarnspirations.
Ribbit, ribbit… well, hopefully not too much!
While I did a lot of “frogging” while making this squish, it was all in an effort to make sure this pattern is perfect for you! The body and belly of the Frog Squish are like most of the other squishes. But we’ve added great big eyes and new feet to create this toady pal!

Grab your favorite green shade of Bernat Blanket!
There are a bunch of lovely greens to choose from in Bernat Blanket – I had to poll the family to decide on which to use myself. Frogs come in lots of shades, so there’s no wrong answer. In fact, switch out the green for a yellow or earthy brown, and your frog will become a toad – a few buttons on the back will add the perfect spots!

Cute and Cuddly for Kids and Adults
This crochet frog pillow is fun to make – and pet and squeeze! I used safety eyes, but this pattern has not been tested for safety for children under 3 years of age. If you are crocheting it for a baby or toddler, you may wish to embroider on the eyes and make sure that the pieces are sewn on quite securely. If using it as a photo prop, be sure not to leave the toy with a baby unattended.

Frog Squish
Add this pattern to your Ravelry Queue and Favorites
US-L, 8.0 mm hook, Susan Bates
330 yds Bernat Baby Blanket (6 – Super Bulky; 100% polyester; 300g/10.5 oz; 201 m/220 yds)
Colorway Shown: Green (2 skeins)
1 yd of black worsted or medium weight yarn
Shown: Bernat Maker Home Dec in Black
10″ Microbead Pillow Ball or additional fiber fill
Gauge: 5″/10cm across after Rnd 3.
Size: approx 10″ across/tall excluding eyes and feet
HELPFUL LINKS AND TUTORIALS
Frog Squish Tutorial – COMING SOON
Special Stitch:
cluster – (dc2tog in one st): yo and insert hook into indicated st, yo and pull up a loop, yo and pull through first 2 loops on hook, yo an insert hook in same st, yo and pull up a loop, yo and pull through first 2 loops on hook, yo and pull through all 3 remaining loops on hook.
NOTES:
The rnds of the Body, Belly, and Eyes are worked in a spiral. The Feet are worked in joined rnds.
Do not ch 1 at the beginning of a rnd or join any rnds with a sl st unless specifically directed in the pattern.
Move a stitch marker along the first st of each rnd as you work to keep track of your progress.
FROG SQUISH INSTRUCTIONS:
Body
Rnd 1: Make a magic circle, ch 1, sc in the ring, 9 hdc in the ring. (10 sts)
Rnd 2: 2 hdc in each st around. (20 hdc)
Rnd 3: *Hdc in the next st, 2 hdc in the next st; rep from * around. (30 hdc)
Rnd 4: *2 hdc in the next st, hdc in the next 2 sts; rep from * around. (40 hdc)
Rnd 5: *Hdc in the next 3 sts, 2 hdc in the next st; rep from * around. (50 hdc)
Rnd 6: *Hdc in the next st, 2 hdc in the next st, hdc in the next 3 sts; rep from * around. (60 hdc)
Rnd 7: Hdc in the next 5 sts, 2 hdc in the next st, *hdc in the next 9 sts, 2 hdc in the next st; rep from * until 4 sts rem, hdc in last 4 sts. (66 hdc)
Rnd 8: *2 hdc in the next st, hdc in the next 10 sts; rep from * around. (72 hdc)
Rnd 9: Hdc in the next 8 sts, 2 hdc in the next st, *hdc in the next 17 sts, 2 hdc in the next st; rep from * until 9 sts rem, hdc in last 9 sts. (76 hdc)
Rnds 10 – 15: Hdc in each st around.
Rnd 16: *Hdc in the next 17 sts, hdc2tog; rep from * around. (72 sts)
Rnd 17: *Hdc in next 10 sts, hdc2tog; rep from * around. (66 sts)
Rnd 18: Hdc in next 5 sts, hdc2tog, *hdc in next 9 sts, hdc2tog; rep from * around until 4 sts rem, hdc in last 4 sts. (60 sts)
Rnd 19: Sc in next st, sl st in next st, break yarn and seamless join. Set Body aside.

Eyes – Make 2
Rnd 1: Make a magic circle, ch 1, sc in the ring, 7 hdc in the ring. (8 sts)
Rnd 2: 2 hdc in each st around. (16 hdc)
Rnd 3 and 4: Hdc in each st around.
Rnd 4: Sc in next st, sl st in next st, break yarn and seamless join leaving a long tail for sewing. Set Eyes aside.

Front Feet – Make 2
Row 1: Ch 6, skip ch closest to hook, cluster in next ch, sc in next ch, cluster in next ch, sc in next ch, (cluster, ch 1, sl st) in last ch. (3 clusters, 2 sc)
Rnd 2: Ch 1, sc in fch of next 5 sts, sc in turning ch (first skipped ch), sc in next 5 sts, sc in ch 1; join. (12 sc)
Rnd 3: Ch 1, *sc2tog, sc in next st; rep from * around; join. (8 sts)
Rnd 4: Ch 1, sc in each st around; join.
Rnd 5: Ch 1, sc in the first st, sc2tog, sc in the next 2 sts, sc2tog, sc in next st; join. (6 sts)
Rnd 6: Fold piece flat, ch 1, sc through next st and last st, sc through next 2 sets of sts; break yarn and finish off. (3 sc) Set Feet aside.
Back Feet – Make 2
Row 1 – Rnd 5: Rep Row 1 – Rnd 5 of Front Feet.
Rnd 6: Ch 1, sc in each st around; join.
Rnd 7: Fold piece flat, ch 1, sc through next st and last st, sc through next 2 sets of sts; break yarn and finish off. (3 sc) Set Feet aside.

Belly
Rnd 1 – 5: Rep Rnd 1 – 5 of Body. (50 hdc) Use stitch markers to space Feet around RS of Rnd 5 at sts # 15-17 (Back Foot), 20-22 (Front Foot), 29-31 (Front Foot), and 34-36 (Back Foot).
Rnd 6: Working through both layers for those sts, *hdc in the next st, 2 hdc in the next st, hdc in the next 3 sts; rep from * around. (60 hdc)
Rnd 7: Sc in next st, sl st in next st, break yarn, and seamless join leaving a long tail for sewing.

Frog Squish Assembly
1 – Add Safety Eyes: Add safety eyes to the crocheted Eye bumps, opposite the last rnd sc, on Rnd 3 (or as desired). Stuff Eyes with Fiber Fill.
2 – Add Eyes to Body: Sew the Eyes to the top of the Body as shown. Be sure to face the safety eyes away from Rnd 19 of the Body, sewing them at Rnds 4-7 on either side of the magic circle.
3 – Add Mouth: Use the black worsted weight yarn to embroider on a smile (or frown) around Rnd 9, or as desired.
4 – Final Assembly: Insert stuffing or ball into Body. Use stitch markers to attach Belly to Body, making sure that the Front Feet face the same direction as the eyes. Using long tail of Belly piece, sew Belly to Body. Weave in end.

Need More Squish in your Life?
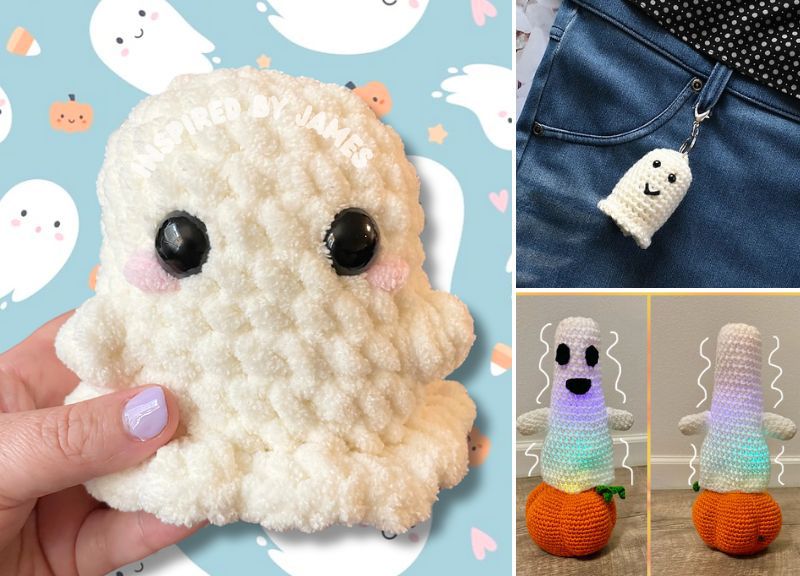
Ready for your next project? Check out the Moogly Free Patterns Page or Ravelry! And don’t miss last year’s Halloween pattern, the Ghost Squish!
If any of the Squish patterns inspire you to make your own project, and you post a photo on social media, be sure to tag me @mooglyblog or #mooglyblog so I can check it out too!
The Fine Print
Follow Moogly on Facebook, Twitter, Pinterest, TikTok, and Instagram! Thank you to Yarnspirations for providing the materials shown in this post. Written pattern copyright Tamara Kelly 2023, all rights reserved. Please do not reprint or repost this pattern, but please do link to this page to share this pattern with others.
If you wish to make items for sale from this pattern or translate it to another language, please visit the About page for details.
[ad_2]
Source link

