![]()
The Corner to Corner Tunisian Pixel Blanket is a rule-breaking afghan that might be my new favorite way to work C2C crochet! Featuring Bernat Blanket Perfect Phasing, this cuddly throw features a gorgeous gradient – I know you’re going to love this way to crochet!
Disclaimer: This post includes affiliate links; materials provided by Yarnspirations.
Prefer a PDF? Click the link below!
Corner to Corner, Entrelac, Basketweave, Tunisian, JAYGO… let’s go with Corner to Corner Tunisian!
One day I felt a sudden inspiration – could I do Tunisian corner to corner, withOUT breaking the yarn after each row? Yes! Now, does that make the “wrong side” of the Tunisian fabric will show? Yes! Did I ask multiple experts what this technique is? Yes! Did they agree? Absolutely not. One warned I might even get a lot of pushback from certain crocheters!
![]()
But… I like it! And I’m going to be bold here – I think the wrong side of Tunisian doesn’t always have to be hidden.
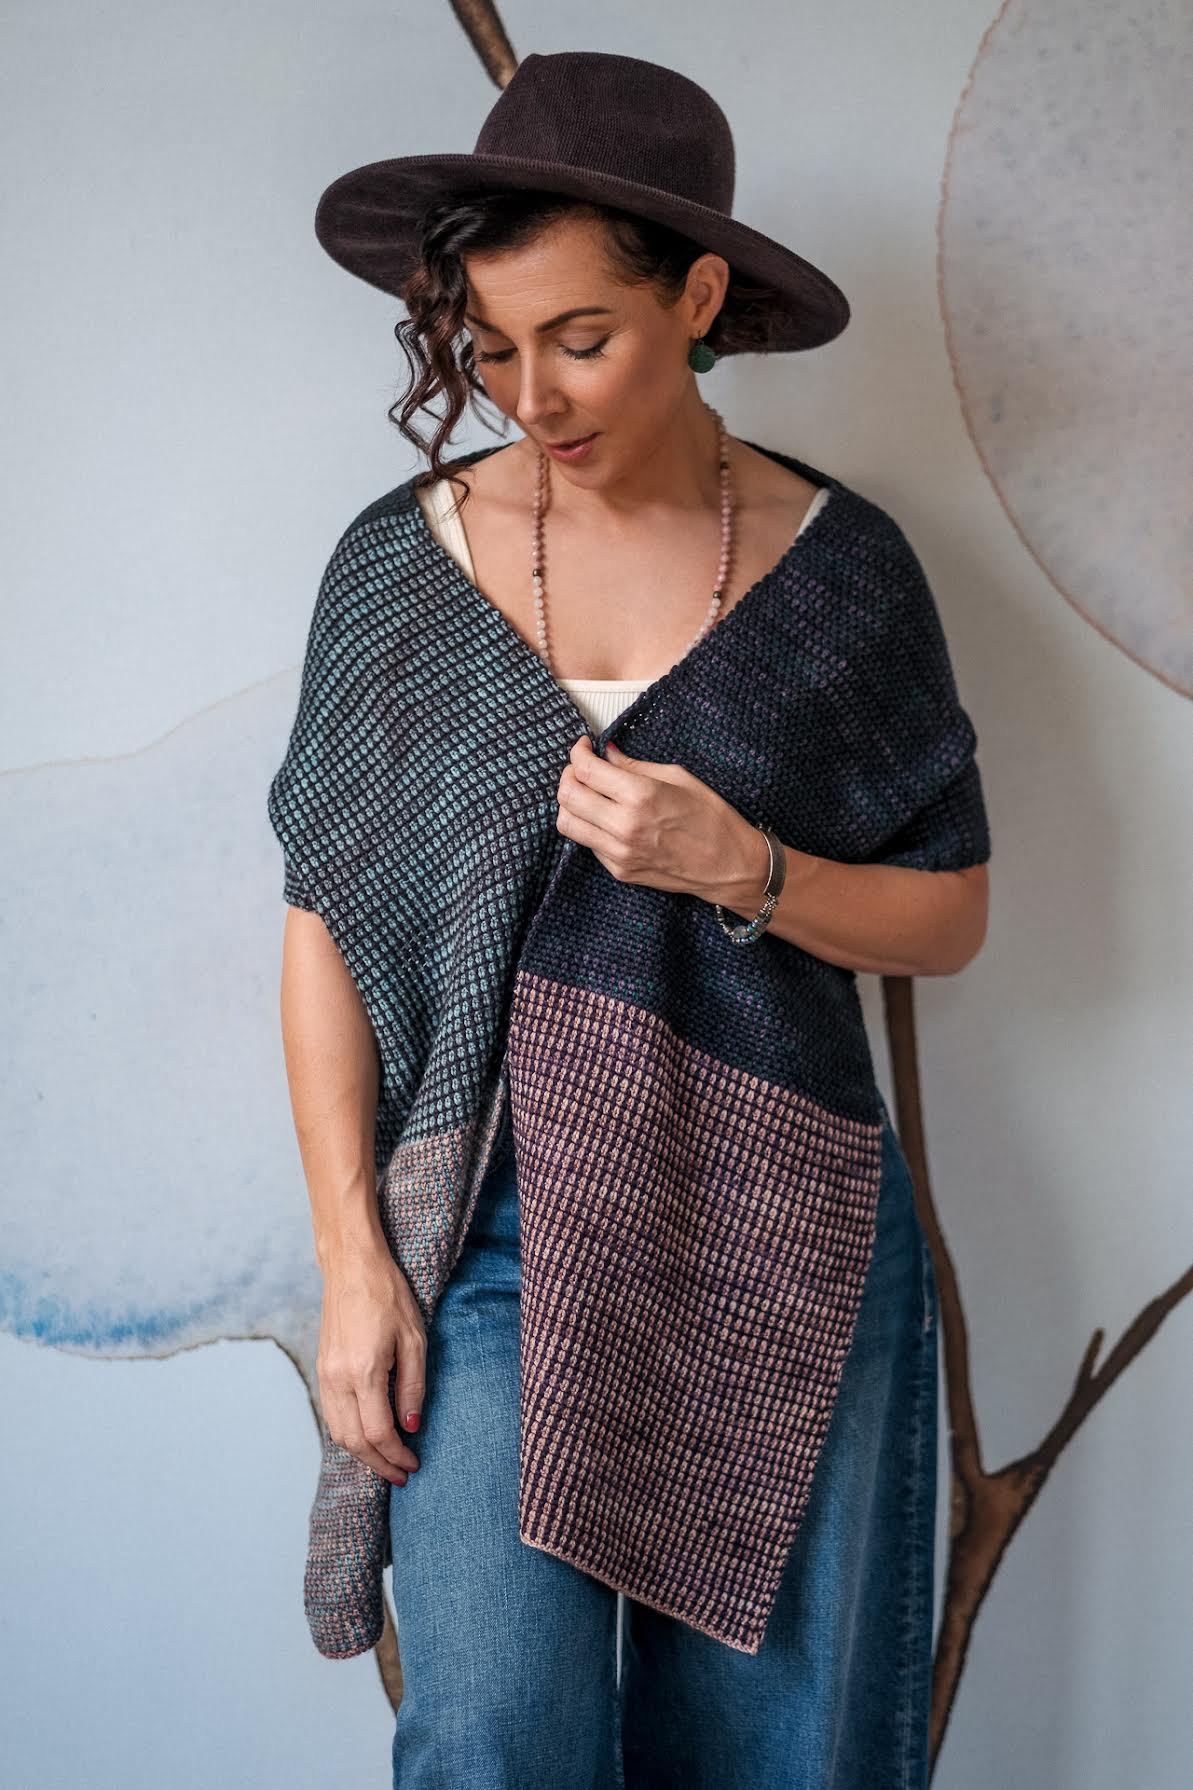
With this technique, we turn at the end of each row. Like any corner-to-corner block pattern, it creates a pixel or checkerboard pattern, emphasized further by the gradient yarn. Additionally, the texture change from RS and WS creates the look of a Basketweave design – using only one stitch. And even neater – see how the lines line up on each side? It’s completely reversible, with the lines going width-wise on one side, and length-wise on the other!
![]()
So… a couple of days of head-scratching and throwing out *very* long titles later, I’m calling it the Corner to Corner Tunisian Pixel Blanket. For the technique or stitch pattern itself, I think the most descriptive and accurate term might be “continuous Tunisian checkerboard-oriented entrelac,” but you tell me what you think!
![]()
While it’s different from other Tunisian patterns, it’s actually a great way to learn Tunisian crochet! We only use the Tunisian Simple Stitch, and there is a full length video tutorial to walk you through every kind of block you need to make it in any size!
While I used a double-ended Tunisian crochet hook, you can use any US-P/11.5mm crochet hook that has a shaft long enough to hold 7 loops of Bernat Blanket – 3″ works in a pinch!
![]()
Making Bernat Blanket Perfect Phasing Shine
Bernat Blanket is one of my favorite yarns to crochet with – it’s soft, plush, and so so gratifying. Bernat Blanket Perfect Phasing takes it up a notch by adding the perfect gradient. No knots – these colors aren’t tied together! The yarn changes from dark to light (or vice versa, depending on where you start!) for a consistent experience cake to cake.
![]()
Oh yeah – this version of Bernat Blanket is in a cake, rather than the usual skein! But don’t worry – it has the same 6-Super Bulky weight, washability, and the same yardage in both versions. So if you want to use this pattern with solid colors to create a purposeful design, the total amount of yarn shown in the chart below should be the same!
![]()
Corner to Corner Tunisian Pixel Blanket
Add this pattern to your Ravelry Queue and Favorites
U.S. P/16 (11.5 mm) hook, Susan Bates
660 – 4840 yds Bernat Blanket Perfect Phasing (6 – Super Bulky; 100% polyester; 300g/10.5 oz; 201 m/220 yds)
Colorway Shown: Dark Orchid
Gauge: Each Block measures 3″ square and each skein makes 55 blocks.
How to Make this Blanket in Any Size
With this corner-to-corner technique, you can make this blanket as big or as small as you like!
- Work the Increasing Rows until you have the Width of the blanket desired.
- Then go to the Maintaining Width and Increasing Length section. Repeat these two rows until you have the Length desired.
- Finally, go to the Finishing Out the Rectangle instructions to complete the blanket.
- Add an edging or border if desired!
With the Gauge given above, here is information on how to make this Blanket in a variety of sizes.
Measurements given below exclude any border or edging. The border shown is approx 1.5″ wide.
Baby Blanket: 36″ x 36″ – 12 blocks x 12 blocks – 3 skeins
Toddler Bed: 42″ x 60″ – 14 blocks x 20 blocks – 6 skeins
Lapghan: 36″ x 48″ – 12 blocks x 16 blocks – 4 skeins
Small Throw (shown) 42″ x 72″ – 14 blocks x 17 blocks – 5 skeins
Throw: 51″ x 72″ – 17 blocks x 24 blocks – 8 skeins
Twin: 69″ x 90″ – 20 blocks x 30 blocks – 11 skeins
Full: 84″ x 90″ – 28 blocks x 30 blocks – 16 skeins
Queen: 90″ x 96″ – 30 blocks x 32 blocks – 18 skeins
King: 105″ x 96″ – 35 blocks x 32 blocks – 21 skeins
Cal King: 102″ x 102″ – 34 blocks x 34 blocks – 22 skeins
HELPFUL LINKS AND TUTORIALS
Corner to Corner Tunisian Pixel Blanket Tutorial – Coming December 13!
Twisted Sc – Twisted Single Crochet
Special Stitches:
Standard Return Pass – Yo and pull through the first loop on the hook, *yo and pull through next 2 loops on hook; rep from * until 1 loop rem on hook.
Attached Return Pass – *Yo and pull through next 2 loops on hook; rep from * until 1 loop rem on hook.
TSS – Tunisian Simple Stitch: Insert hook in direction of work under the front vertical bar of the next st, pull up a loop.
NOTES:
Each row of the blanket is made with a series of blocks. Each of those blocks is, in turn, made of 6 rows.
As we are increasing, each row of the blanket will have one more Block than the previous row. When increasing length while maintaining width, the number of Blocks will be the same for each row. When we begin decreasing on both sides to finish out the blanket, each row will be one Block shorter.
To create a consistent color layout for my blanket, I cut the yarn after making 55 Blocks with each skein. This is completely optional but will give a more consistent look to your finished blanket.
The border shown is worked in standard crochet stitches, not Tunisian. Feel free to switch it out with a different border or edging to make it your own!
Corner to Corner Tunisian Pixel Blanket INSTRUCTIONS:
STARTING THE BLANKET
*Row 1 of the Blanket*
Block 1:
Row 1: Ch 7, skip the ch closest to the hook, pull up a loop from each rem ch across. (7 loops on hook)
Standard Return Pass
Rows 2 – 5: TSS in each st across.
Standard Return Pass
Row 6: Loosely sl st in each loop across as for TSS, turn.
No Return Pass
![]()
INCREASING THE BLANKET LENGTH AND WIDTH
*Row 2 of the Blanket*
Block 2:
Row 1: Ch 6, skip the ch closest to the hook, pull up a loop from each rem ch across, pull up a loop from the last sl st of the previous block. (7 loops on hook)
Attached Return Pass
Rows 2 – 5: TSS in each st across, pull up loop from the next sl st of the previous block.
Attached Return Pass
Row 6: Loosely sl st in each loop across as for TSS, sl st in last sl st of the previous block, turn.
No Return Pass
![]()
Block 3:
Row 1: Pull up 6 loops from side of next block, including from the skipped ch at the base of that block. (7 loops on hook)
Standard Return Pass
Rows 2 – 5: TSS in each st across.
Standard Return Pass
Row 6: Loosely sl st in each loop across as for TSS, turn.
No Return Pass
![]()
*Row 3 of the Blanket*
Block 4:
Repeat Block 2.
![]()
Block 5:
Row 1: Pull up 6 loops from side of next block, pull up a loop from the last sl st of the next block. (7 loops on hook)
Rows 2 – 5: TSS in each st across, pull up loop from the next sl st of the next block.
Attached Return Pass
Row 6: Loosely sl st in each loop across as for TSS, sl st in last sl st of the next block; turn.
No Return Pass
![]()
Block 6:
Repeat Block 3.
![]()
*Make the Width of the Blanket*
To begin each row of the blanket, repeat Block 2.
To work across the row, repeat Block 5.
For the last block of the row, repeat Block 3.
Repeat until the number of blocks for your desired width have been made (see chart above).
MAINTAINING THE WIDTH, ADDING LENGTH
*Next Row – Decrease at Beginning of Row*
First Block:
Row 1: Sl st loosely across the previous row, pull up 6 loops from side of next block, pull up a loop from the last sl st of the next block. (7 loops on hook)
Rows 2 – 5: TSS in each st across, pull up loop from the next sl st of the next block.
Attached Return Pass
Row 6: Loosely sl st in each loop across as for TSS, sl st in last sl st of the next block.
No Return Pass
![]()
To work across the row, repeat Block 5.
![]()
For the last block of the row, repeat Block 3.
![]()
*Next Row – Decrease at End of Row*
To begin this row of the blanket, repeat Block 2.
![]()
To work across the row, repeat Block 5.
![]()
Do NOT repeat Block 3 – stop when you’ve finished attaching to the last block along that side of the blanket.
![]()
*Make the Length of the Blanket*
Alternate between Decrease at the Beginning and Decrease at the End Rows, maintaining the same number of blocks in each row. Repeat until the number of blocks for your desired length have been made (see chart above).
FINISHING OUT THE RECTANGLE
To begin the next row of the blanket, repeat Decrease at Beginning of Row – Block 1.
![]()
To work across the row, repeat Block 5.
Do NOT repeat Block 3 – stop when you’ve finished attaching to the last block along that side of the blanket.
![]()
Repeat until the rectangle is finished, with 1 block worked for the last row.
![]()
ADD A BORDER OR EDGING (OPTIONAL)
Border Rnd 1: Ch 1, work 5 sc in side of each block, work ch 1 at ea corner (skip any sts necessary to maintain this st count); join with sl st.
Rnd 2: Ch 1, sc in ea st around, working (sc, ch1, sc) in corner ch sps; join.
Rnd 3: Ch 1, twisted sc in each st around, working (3 twisted sc) in corner ch sps; join and finish off. Weave in all ends.
![]()
Whew! Now that you’ve got a new cozy blankie to cuddle up with…
Ready for your next project? Check out the Moogly Free Patterns Page or Ravelry!
![]()
If this pattern inspires you to make your own project, and you post a photo on social media, be sure to tag me @mooglyblog or #mooglyblog so I can check it out too!
The Fine Print
Follow Moogly on Facebook, Twitter, Pinterest, TikTok, and Instagram! Thank you to Yarnspirations for providing the materials shown in this post. Written pattern copyright Tamara Kelly 2024, all rights reserved. Please do not reprint or repost this pattern, but please do link to this page to share this pattern with others.
If you wish to make items for sale from this pattern or translate it to another language, please visit the About page for details.
![]()


